
Do you suspect a water leak in your off-grid system but aren’t sure where to start?
Don’t let the unknown waste precious resources and threaten your self-sufficiency.
Our guide will walk you through the process of identifying the source of the leak, evaluating its severity, and implementing a solution that fits your unique system.
With our help, you’ll be on your way to resolving any water issues quickly and efficiently, ensuring your off-grid dream remains a reality.
So let’s dive in – the sooner you address that pesky leak, the better!
Inspect Your System Regularly
Regular inspections are important to identifying and fixing leaks before they become major issues. Check for signs of moisture, such as stains or water spots, on the roof, walls, and floor.
By regularly checking for signs of moisture, such as stains or water spots, you can identify potential leaks and address them before they become major issues.
Stains on the roof can indicate worn-out shingles or cracked tiles, while water spots on the walls and floor can signify a leaky faucet or a crack in the pipe.
Ignoring these signs can lead to more extensive damage and costly repairs down the line.
Therefore, it’s essential to perform regular inspections to catch any issues early on and prevent them from becoming larger problems.
Familiarize Yourself with Common Leak Points
Understand the common areas where leaks tend to occur, such as connectors, valves, and fittings. This will help you quickly identify the source of the leak.
One of the most critical steps in addressing a leak is to identify its source as quickly as possible.
To do this, you must first familiarize yourself with the common areas where leaks tend to occur.
These include connectors, valves, and fittings.
By understanding where these vulnerable points are located, you will be better equipped to pinpoint the source of the leak and take appropriate action.
For example, if you notice a leak at a connector, you may need to replace the O-ring or gasket to prevent further leakage.
Similarly, if the leak is originating from a valve, you may need to adjust the valve or replace a worn-out part.
By being familiar with common leak points, you can save time and resources by quickly identifying the source of the leak and taking the necessary steps to resolve the issue.
Use a Water Pressure Test
A water pressure test can help you isolate the source of the leak by Pressurizing the system and watching for signs of escaping water.
A water pressure test is a simple yet effective method for isolating the source of a leak in a hydronic heating system.
To perform the test, you’ll need to pressurize the system by closing all the ball valves and checking the pressure gauge.
As the pressure rises, watch for signs of escaping water, such as bubbles or moisture on the surface of the pipes.
If you notice any leaks, you’ll know that the pressure is escaping through that particular location.
Once you’ve identified the location of the leak, you can proceed with repairs to fix the issue.
It’s important to note that this test should only be performed when the system is cold, as hot water can cause damage to the pipes and fittings.
By using a water pressure test, you can quickly and accurately identify the source of a leak in your hydronic heating system, allowing you to make the necessary repairs to ensure optimal system performance.
Use Dye Testing
Dye testing involves adding a special dye to the water system and watching for it to escape from the leak point. This method can help you identify the location of the leak more accurately.
Using dye testing to locate leaks in your water system is a highly effective and accurate method.
The process involves adding a special dye to the water system and then monitoring the system for the dye to escape from the leak point.
This technique allows you to visually identify the exact location of the leak, making it easier to pinpoint and repair the issue.
The dye used in this testing is specially designed to be visible under UV light, making it easy to detect even in areas with low lighting.
Once the dye is added to the system, it will flow through the pipes and escape through any leaks or cracks in the system.
By monitoring the system and looking for signs of the dye, you can quickly identify the location of the leak and take action to repair it.
Dye testing is especially useful for locating leaks in underground pipes or hard-to-reach areas, as it allows you to visually identify the leak without having to physically access the area.
This method can be used to test for leaks in both potable and non-potable water systems, making it a versatile and reliable solution for leak detection.
Overall, dye testing is a valuable tool for anyone looking to accurately identify and repair leaks in their water system.
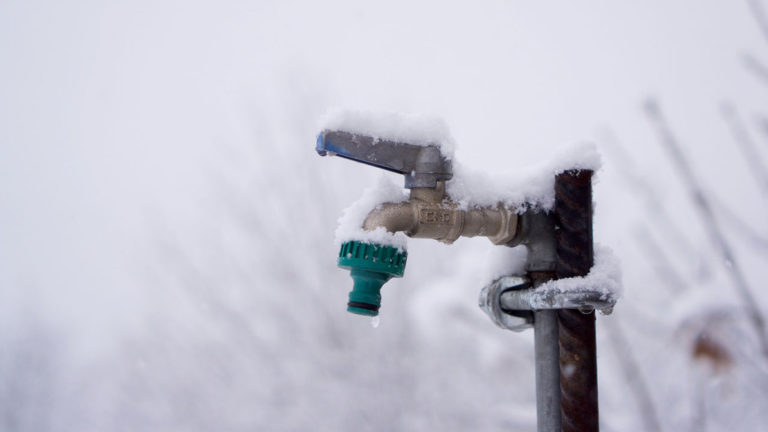
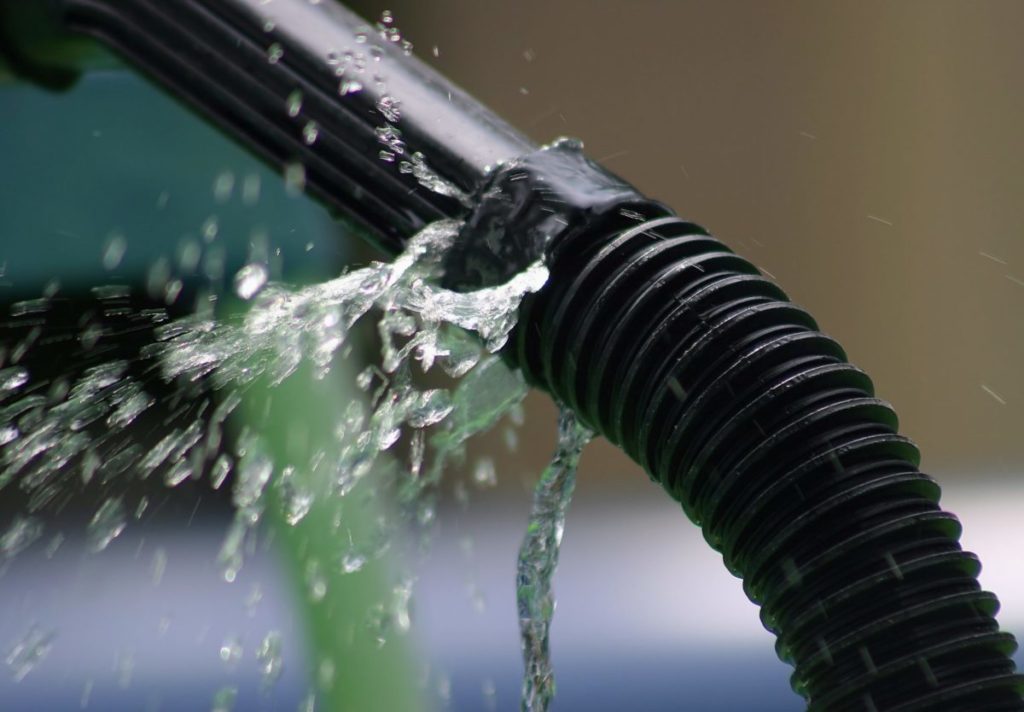
Check for Loose or Damaged Fittings
Check all fittings, such as hoses, connections, and valves, for signs of looseness or damage. Tighten any loose fittings or replace damaged ones to fix the leak.
To effectively check for loose or damaged fittings, you will need to inspect all hoses, connections, and valves in your system.
Start by visually examining each fitting for any signs of looseness or damage, such as wear and tear on the threads or fraying on the hoses.
Next, use a wrench or pliers to tighten any loose fittings, paying particular attention to those that show signs of damage.
Be sure to tighten the fittings evenly and snugly, as over-tightening can cause further damage or stripping of the threads.
If a fitting is damaged beyond repair, replace it with a new one to ensure a secure and leak-free connection.
By checking for loose or damaged fittings and addressing any issues, you can effectively prevent leaks and ensure the continued performance of your system.
Look for signs of Corrosion
Check for signs of corrosion on fittings, connectors, and pipes. Corrosion can weaken the system and cause leaks.
When inspecting your plumbing system, it’s essential to look for signs of corrosion on fittings, connectors, and pipes.
Corrosion can weaken the system and cause leaks, which can lead to significant water damage, mold growth, and even structural damage to your home.
Corrosion can be caused by a variety of factors, including exposure to water, saltwater, or soil, and can affect different types of materials, including copper, PVC, and galvanized pipe.
Some common signs of corrosion include rust or discoloration on fittings and pipes, leaks around connections, and visible wear and tear on exposed components.
To check for signs of corrosion, inspect all visible components of your plumbing system, including fittings, connectors, and pipes.
Look for any signs of rust, discoloration, or wear and tear.
Use a flashlight and a mirror to inspect areas that are difficult to see, such as behind appliances or under sinks.
If you notice any signs of corrosion, it’s important to address the issue promptly to prevent further damage and ensure the integrity of your plumbing system.
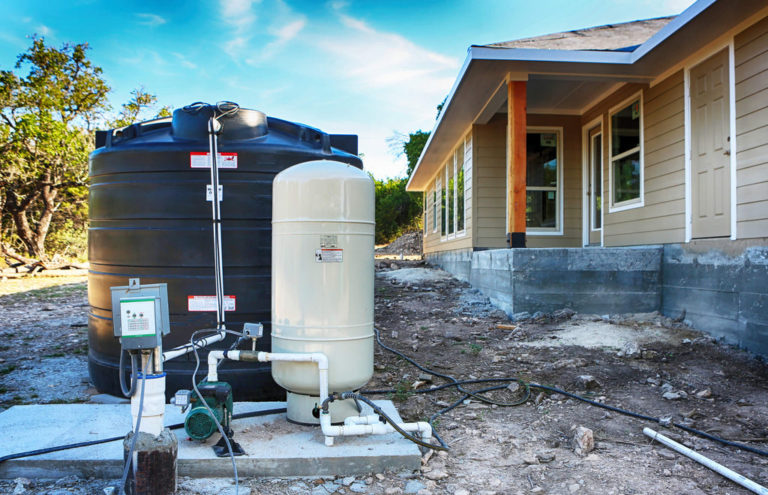
Check for Blockages
Check the system for any blockages, such as mineral buildup or debris, that could be causing the leak.
Checking for blockages is a important step in identifying and fixing water leaks.
Mineral buildup, debris, and other obstructions can all cause leaks in your plumbing system.
Over time, minerals from your water can build up inside your pipes, creating a hard, scaly deposit that can restrict water flow and cause leaks.
Similarly, debris such as dirt, hair, and other particles can enter your pipes and cause blockages.
To check for blockages, you’ll need to visually inspect your pipes and fittings for any signs of buildup or debris.
Use a flashlight and a mirror to look into the pipes, and use a handheld tool like a plumbing snake or auger to remove any obstructions you find.
If you’re not comfortable with this process, it may be best to call a professional plumber to help you identify and fix the leak.
Seal Any Holes or Cracks
Check the system for any holes or cracks that could be causing leaks. Seal them with the appropriate materials to fix the leak.
To effectively fix a leak in your home’s plumbing system, it’s essential to identify and seal any holes or cracks that may be causing the leak.
Start by thoroughly inspecting your pipes, fittings, and fixtures for any signs of damage or wear.
Look for any holes, cracks, or gaps that could be allowing water to escape.
Use a flashlight and a mirror to inspect hard-to-reach areas like behind the toilet or under the sink.
Once you’ve identified the source of the leak, use the appropriate materials to seal the hole or crack.
For example, if the leak is coming from a crack in a pipe, you can use an epoxy-based pipe repair kit to seal the crack.
If the leak is coming from a loose connection, you can use Teflon tape or plumber’s putty to tighten the connection and create a watertight seal.
Remember to always use the appropriate materials for the specific type of leak you’re fixing, and to follow the manufacturer’s instructions for application and curing times.
By taking the time to identify and seal any holes or cracks, you can effectively fix the leak and prevent further damage to your home.
Want More? Dive Deeper Here!
Hey there! If you’re the type who loves going down the rabbit hole of information (like we do), you’re in the right spot. We’ve pulled together some cool reads and resources that dive a bit deeper into the stuff we chat about on our site. Whether you’re just killing time or super into the topic, these picks might just be what you’re looking for. Happy reading!
- water use | Extension News
- (PDF) Community Water Counselor Reference Guide
- (PDF) Urban Water Journal Evolution of research on water leakage control strategies: where are we now | Norzaura Abd Rahman – Academia.edu
- Efficient Use of Water in the Garden and Landscape – Earth-Kind® Landscaping Earth-Kind® Landscaping